

3d •
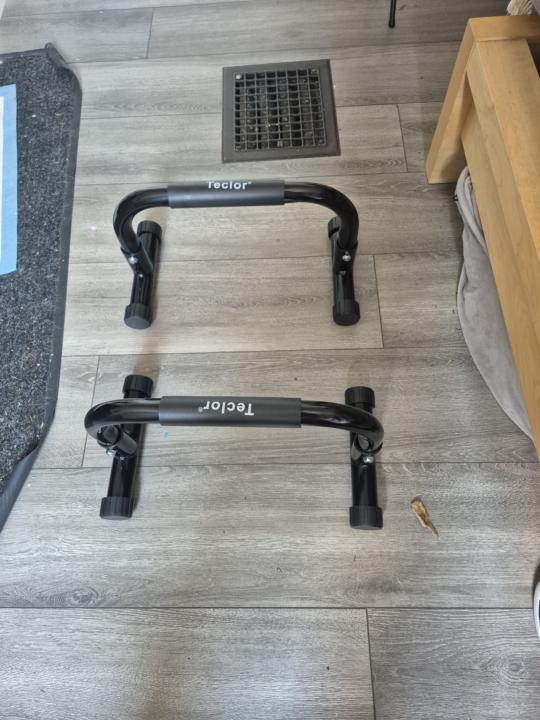
Day 2 & 3
I've just kept to the beginners programme yesterday and today. Although i'm slightly correcting my moves. I focused more on concistancy.

1d •
Cruise
I was disappointed when I got my body scan after one week. Nothing much changed since I started the cruise. I've only lost a pound. I decided to skip the personal trainer. He wanted to mostly keep me on light weights. I'm still going to stick with the stairs and going to the gym every day. The problem with the scale is that you can only weigh when the ship is docked in port. Never able to weigh at the same time of day under the same conditions and then again you have no real control over the food, it's preparation and seasoning. I really feel that the best place to make progress is at home where you can really have control. I am just glad that my blood pressure has remained in the same normal range.

4d •
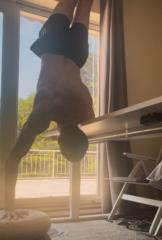
Pancake to chaturunge - yoga transition
Tried this from Instagram after my attempts at stalder press the other day. Working from pancake push ups, to push up through the arms and get the hips up. Here you're meant to jump back to chaturunga (bent arm plank). I can only do that from a frog pose or a high crow at the moment. Hopefully this is a stepping stone to the pike press position if I can progress to get my hips high enough.. Even being able to push up to straight arms from the Initial bent arms pose would be a good sequence to try. The yoga block was a good prop. The push up handles actually made it a bit harder to get the Initial lift off.

1-30 of 820
skool.com/awesome-ninja-fitness
THE Beginner Calisthenics hub → 💪🔥 Master pull-ups, handstands & more with step-by-step progressions + coaching. Build strength, control & skills.
Leaderboard (30-day)
1
🔥
+482
2
+333
3
+275
4

🔥
+239
5
+236
Powered by