
Write something
Pinned

🔥
9h •
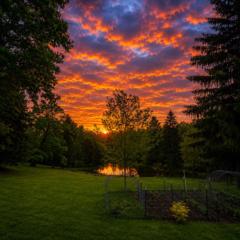
What does regenerative mean to you?
That word gets used a lot, and it can mean different things depending on where someone is standing. For me, regenerative starts with one question, "Is this system gaining life over time?" Is the soil becoming more alive? Is water soaking in better? Are roots going deeper? Are worms, fungi, insects, and birds showing up? Is the garden becoming less dependent on constant rescue? In a backyard, regenerative does not have to mean a perfect system. It may start with one covered bed, one compost pile, one perennial plant, one pollinator patch, or one family learning to observe before reacting. When you hear the word “regenerative,” what comes to mind first?
Poll
6 members have voted
Pinned
🔥
2d •
Read the Soil Surface Clues
We have been talking about checking moisture before watering, usually down around 2 to 4 inches. That is a good habit to maintain, although as we move into the strongest sun and longest days of the year (summer solstice), there are also daily surface clues we can notice on our morning garden walks. The soil surface itself can teach us a lot. The surface takes the first hit from heat, hard rain, wind, and foot traffic. If it crusts over, water may start running off instead of soaking in. This tells us the surface structure is closing up. If it cracks open, the bed is telling us it has dried, tightened, and started pulling apart. This is most common in clay soil, especially when bare soil gets wet, then dries hard in the heat. If the soil under the mulch feels heavy, stays wet too long, or smells stale instead of earthy, it may need more air and less moisture. Roots need water, but they also need oxygen. If the mulch is thinning, the soil is slowly becoming more exposed to heat, evaporation, weeds, and pounding rain. At the same time though, if the mulch is disappearing, that can also be a good clue that worms, fungi, insects, and microbes are working it through. As organic matter becomes thin between plants, those open spaces become weak points in the garden bed. They lose moisture faster, heat up quicker, invite more weed pressure, and take the hardest hit when rain comes in fast. These are simple clues, but they teach us a lot about how the bed is functioning. We do not have to diagnose the whole garden at once, although it is important to notice these clues as they begin to appear so small corrections can be made before they become large issues. This week, pick one area and look closely at the surface. Lift the mulch in a few places, smell the soil, and look for crusting, cracks, worms, roots, dry pockets, soggy spots, thinning mulch, or bare patches. Then take one small action. Add a little compost or fresh mulch where the surface looks tired. Keep mulch pulled back from plant stems if the rain pushes it too tight. Gently loosen a sealed surface around the plants cultivating lightly to help water enter and air return.
5d •
One step at a time
Yesterday I finished the first two rows of the food forest. I’m officially in maintenance mode until late fall, which is a great feeling. It’s not perfect, and not everything rooted, but the system is established and, most importantly, there are roots in the ground. There are still a few small projects left—building borders, weed eating, and continuing to move mulch to create a thick layer that suppresses weeds and feeds the soil. If I end up with a surplus of wood chips, I’ll start laying out future beds now to give them a head start for fall and spring planting. One of the biggest lessons I’ve learned is to start with a manageable plan. It’s far easier to successfully establish a few beds than to spread yourself across ten. Another lesson: grass pressure is no joke. The sooner you address it, the less maintenance you’ll have down the road. Progress in a food forest isn’t measured by perfection. It’s measured by roots in the ground, soil being built, and systems becoming more established each year. 🌱
🔥
2d •
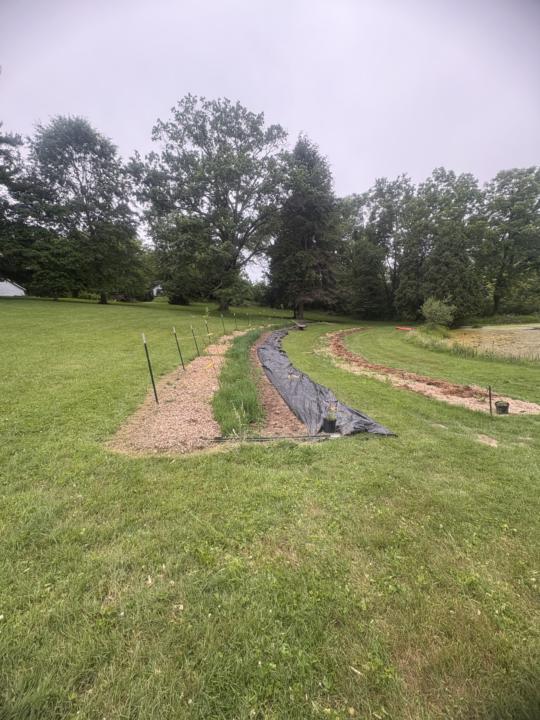
How I Built and Use My Cattle Panel Poly Tunnel
I built my poly tunnel from cattle panels, and it has been one of the more useful experiments on the homestead. I used 16-foot cattle panels and arched them across a 12-foot span because that is what my space allowed. If I had more room, I may have gone closer to a 14-foot span because it would give a little more growing width while still leaving plenty of headroom. The tradeoff is that a wider span lowers the center height. The 12-foot span worked well for my bed layout. A person can usually reach comfortably into a 32-inch bed when there is access from both sides. With 24-inch walkways, the layout works out like this: 32-inch bed, 24-inch walkway, 32-inch bed, 24-inch walkway, 32-inch bed. That equals 144 inches, or 12 feet. In real life, I would still leave a little room for posts, side rails, plant growth, straw bale insulation and general working space. This simple layout worked out well. With the 12-foot span and roughly 5-foot side walls, the center height is close to 9.5 to 10 feet, depending on how the panel bends and where it is fastened. With the same side wall height, a 14-foot span would be closer to an 8-foot center height. That would still be enough headroom and would give a little more floor or straw bale space. There are several ways to build a cattle panel poly tunnel, and some are much more permanent than others. Mine was built as a one-man, lower-cost experiment, not as a finished commercial greenhouse where I arched the panels from one side to the other. Another way would be to run the panels lengthwise with a pitched roof. In the design, the north wall can be more solid, act as an insulator and a wind break. I have seen people use straw bales along the north wall for insulation, water barrels with aquarium heaters or solid construction with insulation. For my first build, I used 7-foot T-posts so I could get about 5 feet of side wall height. I placed 1 1/4-inch PVC tees on top of the posts, then ran 3/4-inch EMT conduit through those tees as the side rail. The ends of the cattle panels were then wired to the EMT with wire bag ties.

5d •
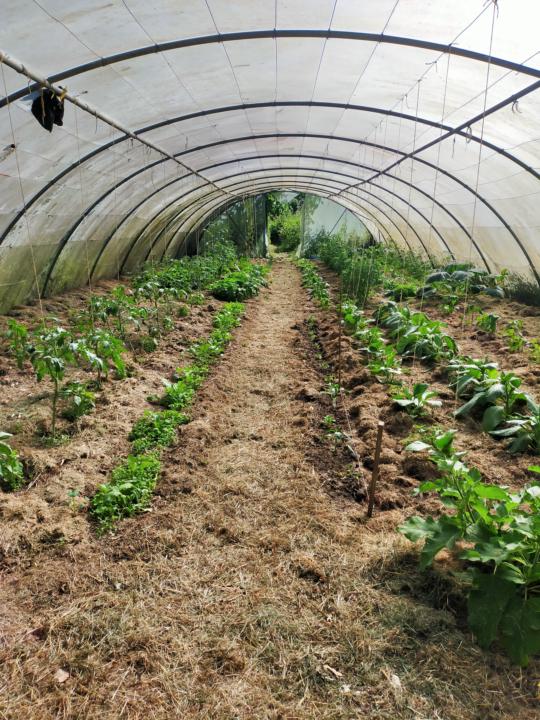
Polytunnel climate
We have discussed protected growing environment issues, like water , mulch, ventilation and area, here is some figures from the end of a hot day , mid June at 18h in the evening. Last watering 20 hours ago and under the grass mulch it's still moist.(Total area 100sqm). Amount of water given 220l by watering can. Daytime temperature 30 degrees Celsius. Temperature now inside the tunnel 28 degrees. Temperature outside only two or three degrees less. Conditions of tomato plants, slightly wilting. Soil temperature 23 degrees . I would consider this to be adverage in all aspects, and the performance of the environment, to me , seems good. No disease, or pests and steady uniform growth, could be a little more advanced in growth, but the plants were small when planted and it was quite late (21 days ago)up to the last frost date.
1-30 of 399
powered by
skool.com/oasis-builders-8012
Oasis Builders helps busy families grow healthy food, herbs for medicine, and gain calm confidence for everyday readiness.
Suggested communities
Powered by