
Write something

22d •
Plant Propagation
I have been using propagation trays similar to this for over 35 years. It really makes propagation from cuttings much easier. Here is the version that I scaled for my RV. It is also perfect for an apartment. This PDF is my gift to you.
21d •
Building a Worm Tower
I just finished a video on how I put together a Worm Tower. Here is a video showing how it is put together.
1
0

May '25 •
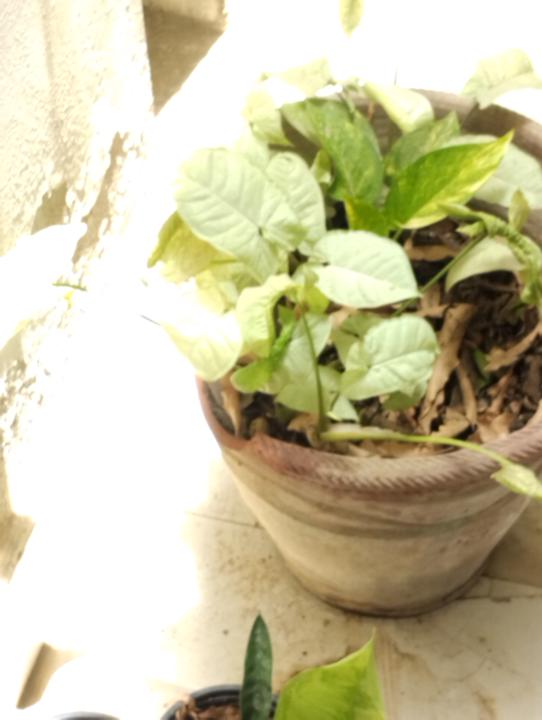
The Cat broke my Flower Pot... Again!
...This time, it was Syngonium, but can't change the nature of the cat. It uses pots to uplift itself to reach at the top of the wall, so, have to play along. Thereby, created a separate flower pot for it, having a moss pole in it, so it could scratch on it and get that height to jump, instead of using other pots. As per scraps, broken them further and used them to decorate the cat's pot. As for my plant's broken pot, decided to polish the broken edge and grow some vines besides it, giving it a nice look. What do you think? Would love to hear your suggestions!

Apr 1 •
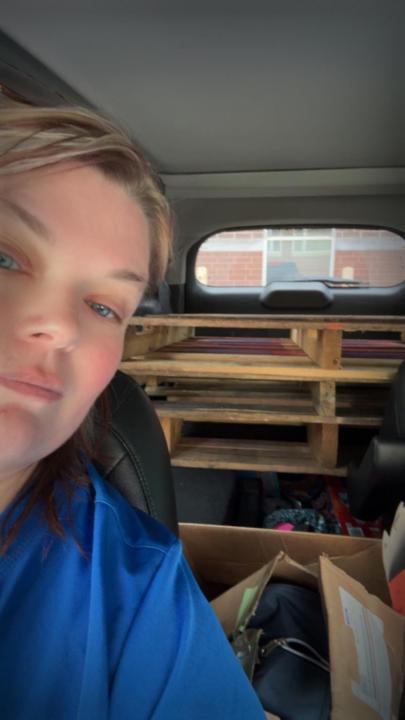
Pallet garden bed
Has anyone done raised garden beds with pallets? I received 3 from a facility I do clinicals at. I brought them home to do some planting in, but curious what everyone has planted in them, if anything...

Apr 8 •
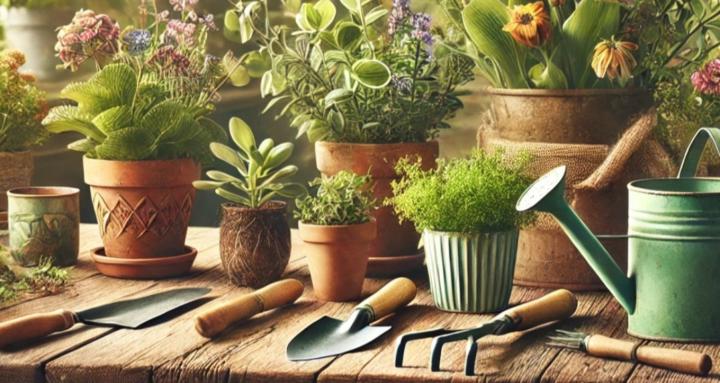
Pots
let's talk pots. What's the biggest pot you use? how about smallest? what do you like them made of? do you have any special ones? what do you use that might be considered "unusual"? show me your pots

1-30 of 70
skool.com/gardening
🌱 Unlock your green thumb in the most supportive container gardening group online — exclusive tips, plant hacks, and growing wins await!
Leaderboard (30-day)
1
+129
2

+88
3

+61
4

+41
5
+39
Powered by