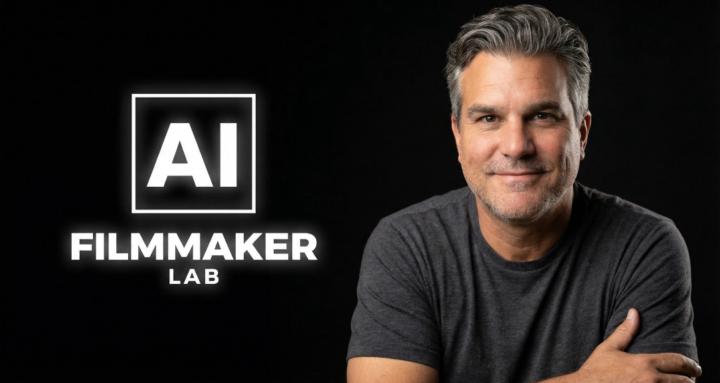
Ai Filmmaker Lab
Private
289 members
$12 /month

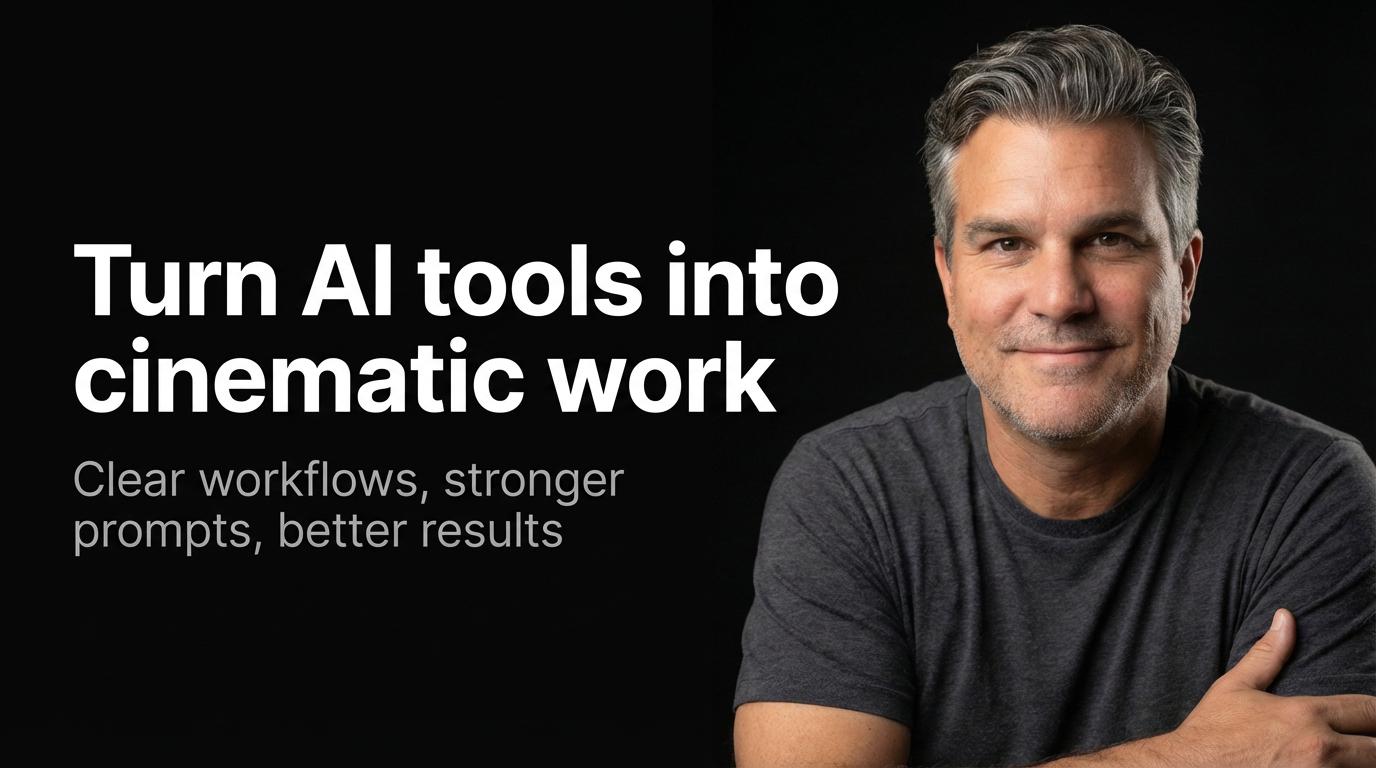
Make AI films that feel cinematic, not generic.
AI Filmmaker Lab helps you create stronger AI videos, images, and short films with clear workflows, prompt systems, and step by step training.
Learn how to get better prompts, more consistent characters, stronger shots, and more polished final work without piecing everything together alone.
Inside, you’ll get:
✅ Step by step training
✅ Prompt frameworks and visual workflows
✅ Support and feedback from a creator community
✅ Ongoing updates, tools, and lessons
Join for $12/month. Cancel anytime.
skool.com/ai-filmmaker-lab
Create stronger AI videos, images, and short films with step by step training, creative workflows, and real support built for creators.
Powered by