Activity
Mon
Wed
Fri
Sun
Jul
Aug
Sep
Oct
Nov
Dec
Jan
Feb
Mar
Apr
May
Jun
What is this?
Less
More
Memberships
SOLIDWORKS Accelerator
2.3k members • Free
SOLIDWORKS Course Pro
66 members • Free
41 contributions to SOLIDWORKS Accelerator

Oct '24 •
A recently Certified Associate says:
Matthew is sharing his experience and plan about the CSW exams


2 likes • Oct '24
@Mathew Hurlbut Are you from Utah?

3 likes • Oct '24
@Farid Yazami I am also in Utah!
8 likes • Sep '24
Super awesome!
Sep '24 •
Real world applications
Now that I'm getting a little better with SolidWorks, we have been making parts to use in our production lines. The first part I'm showing is a bobbin holder that will be placed on a cart using a flat backing plate secured with a thru bolt, the smaller hole is for a guide pin to have it oriented correctly all the time (first pic shows correct orientation). Although I didn't make this first part in SW's, the design has been mine and I had a coworker make this with my inputs. It went through multiple design iterations and testing before we settled on this as the final part. All of the chamfers are there not only to help the bobbin slide on easier but also to allow 3D printing with no supports. I have printed a dozen of these and we will be mass producing 5000ish more, they come out beautifully. (I will likely upload a picture of one of the actual 3D printed models if anyone wants to see it.) The second part I made is just a flat disk with some holes. This goes over the ends of a bobbin of carbon fiber and the outer holes are there to secure the two parts with cable ties for transport. This was a one time part that I made to transport an extra large bobbin to a supplier so that the fiber wouldn't sluff off the ends. The last part, the fiber catch box is a part I made and 3D printed to place into a recessed drain to act as a strainer to keep fiber scraps out of the water drain. This is something we can pull out easily and clean and replace. I made this by first making an extruded square and then offsetting the top edge before making an extruded cut. I made the holes using the fill pattern on the bottom and I used polygon's on the side also using extruded cut (through all) I did the polygon's so that they would 3D print cleaner. In addition to using the fill pattern, I also got to play around with "instances to skip" as I didn't want the entire side filled with holes. This has been 3D printed and is in use currently. It's been fun using SW's and my 3D printer to make these parts instead of having to go to a meeting with a bunch of people to make a design and then having maintenance cut and weld things. I believe I'm saving the company time and money now by not over engineering things.

4 likes • Sep '24
@Melbourne Dela Cruz thank you!
3 likes • Sep '24
@Sarim Afrasiab Thank you!

Sep '24 •
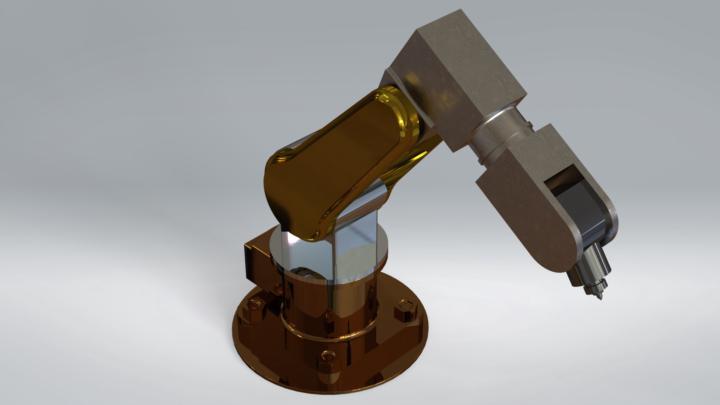
ROBOT-ARM
I recently designed this robotic arm using SolidWorks. It was a great opportunity to apply advanced modeling techniques, and I’m really happy with how it turned out! 🤖✨ This project challenged me to focus on creating a functional, aesthetic, and precise design, considering both form and material selection. The end result is a dynamic and sleek robotic arm.
5 likes • Sep '24
This is simply amazing! Does it move?? It looks very advanced, thank you for sharing!
3 likes • Sep '24
@Romit Makwana Thank you! I can't wait to see it!
1-10 of 41

@tyler-donaworth-9827
I am an avid lover of riding Mountain Bikes, that being said, I break a lot of parts.
I am also in a new role where making things will be huge for me
Active 557d ago
Joined Jul 25, 2024
UT, USA
Powered by