
Write something

15d •
A text lab that optimizes and translates in one pass. Free to grab.
I published my first workflow to the Figma Weave community: THE MAD TEXT PROFESSOR. It's a text lab. Paste any text in, set four parameters (Type, Optimize, Translate, Language), and it handles the rest. Clean results, zero commentary. What I use it for: turning a rough note into a polished prompt, translating a paragraph in seconds, or prepping input for a system prompt that gets optimized and translated in one pass. One workflow, every text job. https://www.figma.com/community/weave_workflow/64/the-mad-text-professor Grab it, save it to your gourps, run it through your own pipeline, and tell me how you like it.
Feb 3 •
Getting to grips with Weavy. Generating character sheets and locking in consistency
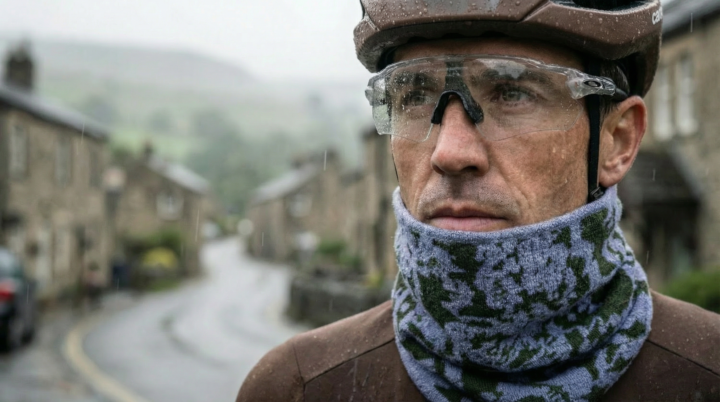
Need some help getting going with Weavy. I have generated some previous images in NBP and I like the model but would like to change the clothes to specific pieces and generate strong character sheets which I can then use to generate some cinematic stills from and eventually some moving images. The emphasis is on the neck snood as it is the product being 'advertised' Essentially I want to be able to produce a workflow which I can control each item of clothing. I have Also included a cinematic moodboard which I have previously created in NBP with the correct clothing
Mar 20 •
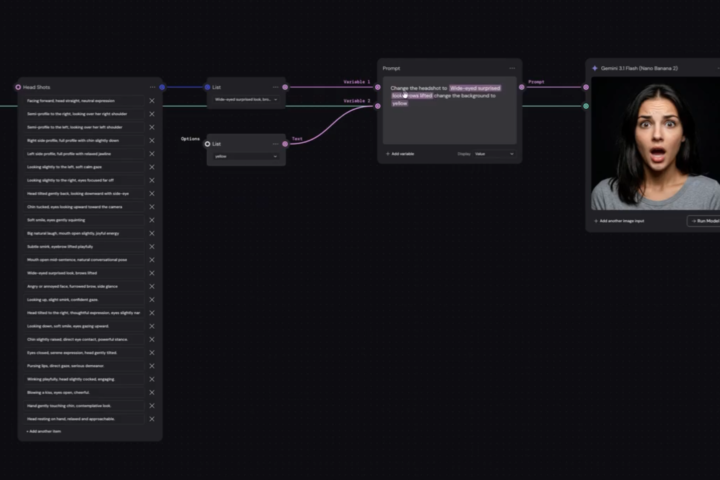
Q&A List Selector + Variables
Drop a comment below with your biggest takeaway from this lesson. One sentence is enough. Question: Could you use this in a workflow you're already building?
Poll
5 members have voted
Mar 28 •
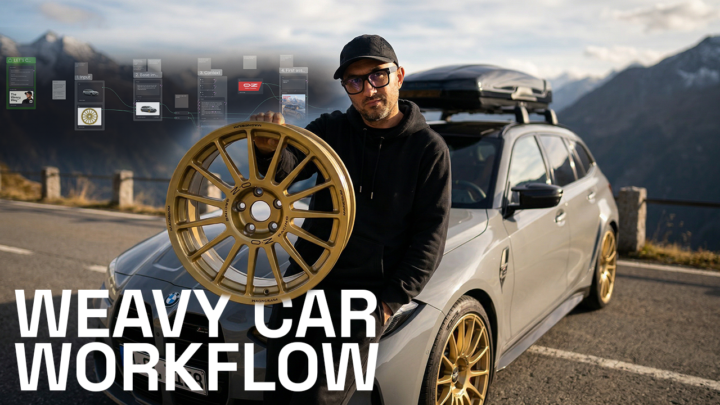
🏁 Rims Workflow — Your Turn
Drop your biggest takeaway from this classroom lesson. One sentence is enough. Now the real challenge: this workflow is not about rims. It's about placing any product in any context. A sneaker. A piece of furniture. A bag. A bike. How would you make this work for your own projects? What would you change? Share your workflow or your idea below. 👇
Mar 11 •
First Coffee Hour is done. Checkout the workflow.
People from Oregon to Serbia, 2AM timezones, cameras on, real conversations. That felt good. I walked through the rim workflow live and got some great questions along the way. Here are a few things that came up that I think are worth sharing: Always label your nodes and sources. Once you start copy-pasting images into a workflow you lose track fast. Sticky notes are your friend. Name everything. Test cheap, ship quality. I ran the whole workflow on a lower-res model first. Faster, cheaper, same logic. Once the workflow is locked, you upgrade the model. Not before. Routers keep your canvas readable. One input, multiple destinations. It sounds basic but it changes how clean your workflow looks. And a clean workflow is a workflow you actually understand three weeks later. Upscaling is harder than it looks. If you upscale a small panel image without feeding the original product references back in, the model will guess. And it will guess wrong. Feed it context, always. The workflow is the product. One of the attendees immediately saw a use case for second-hand car dealers in Serbia. That's exactly the point. You build it once, it works for a client forever. The recording is attached. Fair warning: I did not record it fullscreen. (I know.) So I will re-record the workflow properly and add it to the classroom later. Full screen this time, I promise. Thanks for showing up. Let me know what you think in the comments! Workflow: https://app.weavy.ai/flow/QIOqmzgXl2hV09GD54VWA3

1-10 of 10
powered by
skool.com/the-weavy-way-3948
Master Figma Weave. Turn your vision into scalable node-based workflows. Move beyond prompting, start architecting. Free course + community inside.
Suggested communities
Powered by