
Write something

18h •
The content slowly starts connecting...
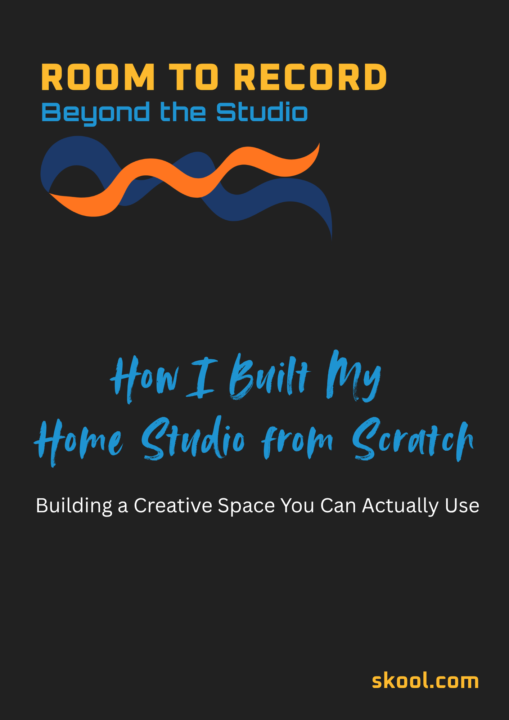
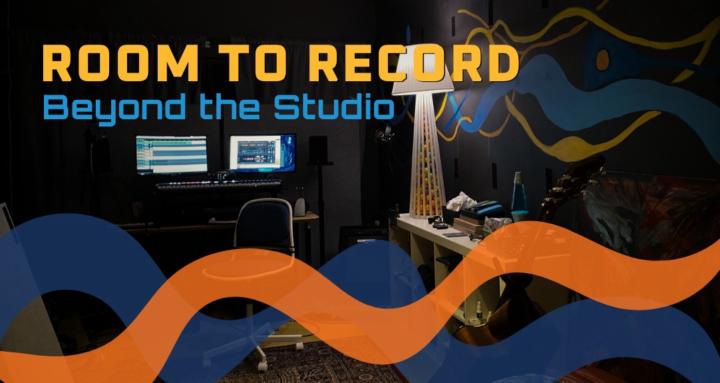
One unexpected thing about building Room to Record is realising that the content slowly starts connecting together. What began as a simple 10-part series about building the studio is now turning into a proper downloadable guide combining: • the original posts; • studio photos; • layouts and planning; • workflow ideas; • reflections; • creative psychology, and; • all the strange little lessons that happen while trying to build a space you can actually use consistently. Originally I thought it would just be a small PDF bonus for the group. Instead, it’s slowly becoming: • a guide; • a visual diary; • a studio philosophy document, and; • the foundation for future classroom and video content. Which is apparently how creative projects work. You start trying to improve one room and accidentally build an entire ecosystem around it. Here are a couple of early preview pages from the document so far.
1
0
4d •
Building a Model Studio – When it’s time to Lego
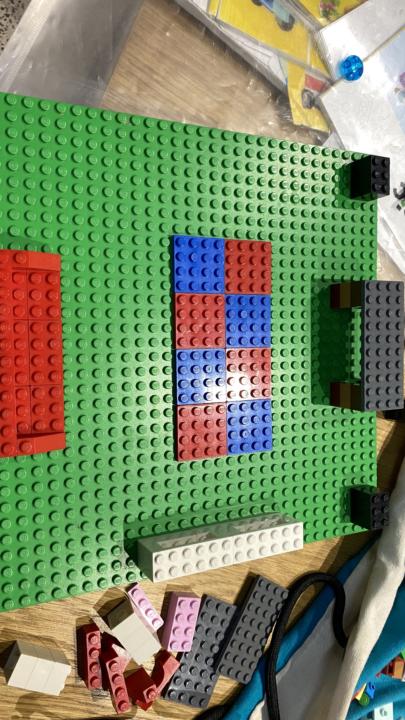
Sometimes you need to physically see the room before you fully understand it… I recently took my 6-year-old son to our local library where, alongside books and video games, they have a huge table full of LEGO. Usually I spend the time looking through the vinyl LPs or involuntarily colour-coding all the LEGO pieces like some kind of mildly broken designer goblin. But this time, without really thinking about it, I started building a model of the studio. At first it seemed silly. Then I realised it’s basically the same process. Moving furniture around. Testing layouts.Working out where things fit. Once Freddy finished making his amazing “super transparent car,” he realised what I was doing and immediately joined in. “We need the yellow carpet, Dad…” And suddenly we were thinking about workflow, movement, storage, sound, lighting and comfort. A lot of home studio advice online jumps straight to expensive gear, but the actual room matters more than people admit. The shape of the space. The listening position. Where cables collect. Where instruments end up. Where clutter starts. Whether the room actually makes you want to create. Sometimes creativity starts with experimentation that looks a bit ridiculous from the outside. Sketches. Tape on floors. Cardboard mockups. Why not LEGO? Tiny desks made from random bricks, while your kid explains why the dragon needs laser cannons. This process matters. Because eventually the room stops being an abstract idea and starts becoming a real creative environment built around how you actually live and work. And honestly, building creative spaces while raising kids probably deserves its own category entirely. There’s also something strangely appropriate about designing a creative space using the same kind of building process most of us grew up with in the first place. Tiny pieces. Gradual experimentation. Changing the plan halfway through. Making a mess. Rebuilding sections repeatedly until they finally feel right. Which, honestly, describes most home studios pretty accurately.
Apr 21 •
How I Built My Home Studio from Scratch
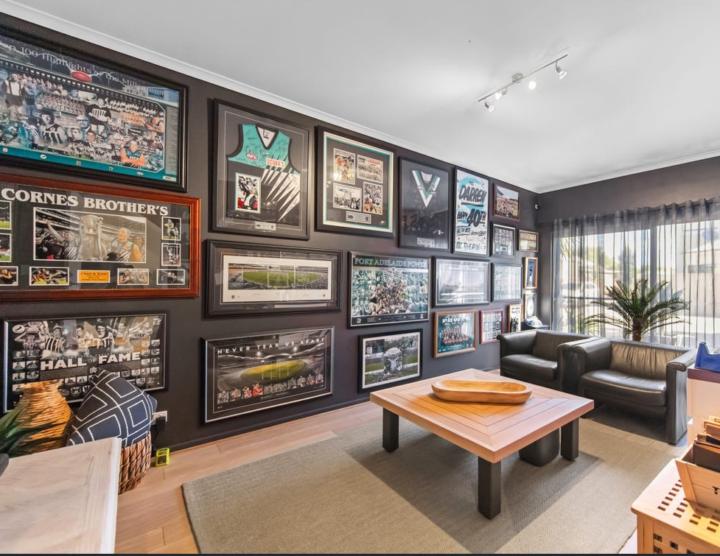
Part 1: Planning the Studio This is the first in a series of 10 posts about how I planned and designed this room, from before we even moved in, through to building a functional studio. About 12 months ago, my family and I moved into a new house. Part of the decision to buy it was this room. I knew from the start that it would become my office and studio space. The house is a three-bedroom, two-storey semi-detached home, and this room is essentially a converted garage. The previous owner had used it as a shrine to his favourite AFL team, which made it memorable for reasons both practical and deeply Australian. Image 1. This was the room when we first inspected the house. Not a studio yet, but I could already see the potential. It had laminate wood flooring, dark grey paint, and plenty of holes in the walls where framed pictures had been hung. The room measures 3.0 x 5.8 metres. Image 2. The floor plan showed the room as a 3.0 x 5.8m lounge on the ground floor. Before we had even made an offer on the house, I was already convinced this was the room. I even rushed out and bought some cheap second-hand ceiling insulation, which I’ll come back to in a later post. Once the purchase started moving forward, I began planning the layout. Using the real estate floor map, and my best memory of where the power points were, I made a simple Canva mock-up to work out where everything might go. It also helped me start thinking about what I needed to buy, what I could reuse, and what I’d need to sell or give away as part of the upgrade. Image 3. My rough first pass on the floor plan, working out the room size and main zones. Image 4. One early layout version, back when I thought I might fit the motorbike in there too. In the next post, I’ll share what the room looked like once it was empty, what I tackled first, and how it quickly went from blank space to crowded chaos to the start of a working studio. Have you ever planned out a studio, workspace, or creative room before moving things in?
21d •
How I Built My Home Studio from Scratch
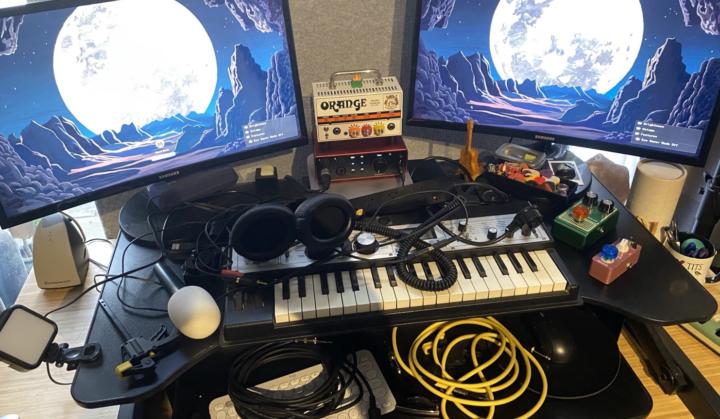
Part 10: The Output Phase (When You Finally Use It) After all the planning, moving, setting up, tweaking, adjusting, and reorganising, there’s a point where the only thing left to do is actually use the room. Which sounds obvious. But it’s surprisingly easy to delay. There’s always something else to fix. Something else to improve. Something else to buy.And all of those things feel productive. But none of them are the reason the room exists. The room exists to make something. So at some point, I had to stop adjusting things and just start recording. Not perfectly. Not with everything fully dialled in. Not waiting until the room felt “finished.” Just starting. And once that happened, something shifted. The room stopped being something I was working on. And became something I was working in. That’s the difference that matters. Because the value of the space isn’t in how it looks, or how well it’s set up. It’s in what comes out of it. This is one of those sessions. Not perfect. Not finished. Just real work happening. Around the time I got to this phase, I realised I had already started recording in the previous room. It was smaller. More cluttered. Shared space. Less ideal in almost every way. But it had one thing this room didn’t yet. Output. So I went back through everything I had. Eight songs from an old band, sitting at 30–80% complete. Ten songs I wanted finished for an album, with about four halfway there. Another 20–30 ideas that were barely more than a drum loop and a few notes. Plenty of material. No finished work. So what did I do next? Finish them? Actually No. I attacked the real problem. I created a deadline. I’d been working with a prolific songwriter earlier that year who mentioned he had a backlog of about 30 songs waiting to be recorded. So I messaged him and asked if I could record one of his. Not just for the song. For the deadline. He gave me four to choose from. I picked “Dealing Drugs.” Then he gave me a date. 30th June. And then he checked in every week.

22d •
How I Built My Home Studio from Scratch
Part 9: The Reality Phase (When It All Turns Into Cables) At some point, after getting the room working, tweaking it, and trying to keep everything organised, something else started to happen. Everything turned into cables. • Power cables • Audio cables • USB cables • Patch leads • Adapters for things that somehow don’t match anything else No matter how clean the room looked at first, it didn’t take long before things started to spread. One pedal becomes three. One cable becomes ten. Something gets moved slightly, and suddenly nothing reaches where it used to. And this is where the difference between a nice-looking room and a usable room becomes very obvious. Because clutter doesn’t just look bad. It gets in the way. Cables become obstacles. Gear becomes harder to reach. Simple tasks start taking longer than they should. That’s when organisation stops being optional. Not in a perfectionist way. In a functional way. Cable runs start to matter. Power access matters. Storage matters. Knowing where things are matters. Otherwise, the room slowly turns into something that looks impressive, but feels frustrating to use. And once that happens, it becomes easier to avoid the room altogether. Which defeats the whole point. So this is where I started paying a lot more attention to the unglamorous parts of the setup. Not the gear. Not the sound. Just the basic question: Can I actually use this space without fighting it? Something else happened around this time though. I joined a band to play guitar. Another example of “relevant procrastination” that made sense on paper. It helped me practice more, play with other people, and get back into performing. All of that was true. But practically, it also meant something else. The setup stopped being static, and there were more reasons to focus on guitar gear. “I probably need this.” “Maybe I need that.” And just like that, the cable problem didn’t just stay. It got worse. And once that started to feel manageable, the question changed again.
2
0
1-12 of 12
powered by
skool.com/stuart-baulk-6997
Build a home studio, record your music, and go beyond the setup into production, promotion, releases, and income.
Suggested communities
Powered by