
Write something
Pinned
Dec '25 •
We're LIVE!
We are thrilled to officially launch THE SHUTTER SOCIETY — a creative community for photographers and videographers who want to sharpen their skills, grow together, and create with purpose. Whether you're just starting or years into your journey, this is your space to: • Learn new techniques • Get feedback on your work • Connect with other passionate creatives! Built by Paul (videographer) & Jen (photographer), this is the kind of space we always wished existed — now we’re building it with you. Tons of good stuff coming soon: workshops, challenges, editing demos, tools, and more. Join now and be part of the founding crew.
1
0

Feb 2 •
Let’s talk off-camera flash for outdoor photography ☀️⚡️
Did you know that even in harsh sunlight, you can still get beautiful photos? You don’t have to be locked into golden hour to create great work. Learning how to use off-camera flash outdoors will: - Help you retain blue skies (no blown-out backgrounds) - Give you control over contrast and shadows - Free you from scheduling shoots around a tiny time window And here’s a big misconception I hear all the time:👉 You do NOT need a softbox to get soft light. I’ve done this successfully with softboxes and with a bare bulb flash. Softness is about distance, angle, and balance, not just modifiers. Two ways to balance bright daylight: - ND filter (my personal preference) - High Speed Sync (HSS) if you don’t have an ND How to achieve this look (simple setup): 1. Expose for the background first 2. Position the sun 3. Place your flash 4. Bring in the flash My typical starting point: - ISO: 100 - Aperture: based on how creamy I want the background - Shutter speed: 1/250 (because I’m using an ND filter) - Flash power for these shots: 1/4 power Once the background is dialed in, place your subject and fine-tune flash power. That’s it. You don’t need a ton of classes or fancy gear—just an understanding of light direction, balance, and control. If you want, next we can break down: - Bare bulb vs softbox pros & cons - Flash placement diagrams - Troubleshooting harsh shadows Drop questions below 👇
0
0

Jan 22 •
Leave No Trace + Get Permission
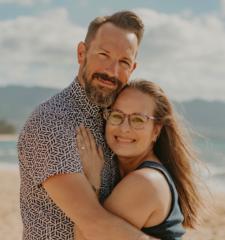
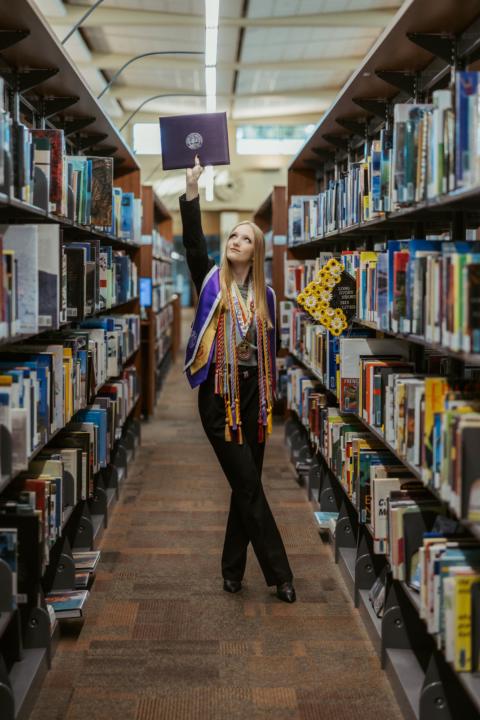
I was out viewing a property for an upcoming photoshoot recently and while talking with the property owner, she shared a story that really stuck with me. Another photographer had shown up with a group of high school seniors, pulled over on the side of the road, and began taking photos on private property — having the students sit on people’s fences, hang from posts and signs, and use décor as props. Unfortunately, the students ended up damaging several signs and decorations. I cannot stress this enough: please adopt a “leave no trace” practice — and if you’re shooting on private property, GET PERMISSION. Imagine if it were your home and a photographer you don’t know brought clients onto your front lawn, posed them on your porch, moved your furniture around, and had people standing on your chairs. My guess is you’d be more than a little upset. This doesn’t only apply to homes. We see it often with popular outdoor locations too — beautiful flower fields or scenic areas where photographers allow clients to trample flowers or climb structures. What was once a gorgeous location becomes unusable for everyone else. When you hear photographers talk about “gatekeeping,” this is often why. It’s usually not about competition — it’s about protecting locations from being damaged or shut down entirely due to repeated misuse. Recently, I photographed a college graduate at our local library. I didn’t just show up and start shooting. I called ahead and obtained permission. I’ve done this with many locations. Asking goes a long way. Some places may require: *Prior approval *A location fee *Proof of liability insurance It’s always better to ask first than to show up, get kicked out, or worse — damage someone’s property and hurt our industry’s reputation. If we want to be treated as professionals, we have to act like professionals — even when no one is watching.
0
0
Jan 19 •
Posing and Direction
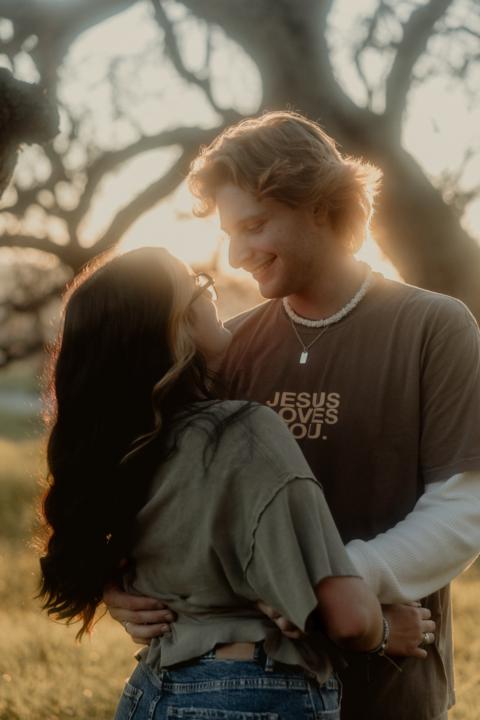
Yesterday I went out on a shoot with a young couple. The girl happens to be my neighbor, and her boyfriend is heading off to join the Coast Guard in just a few weeks. She wanted photos before he left and sent me a mood board filled with soft, dreamy images. A little backstory on my neighbor: she’s absolutely beautiful… but also incredibly shy, awkward, and easily embarrassed in front of a camera. This is where directing poses really matters. When someone is nervous, you have to pause and scroll through the images you’ve already taken so you can guide them. Sometimes directing means gently showing them what’s not working. In this case, she told me she didn’t know how to fix what she was doing. So I did something simple but effective: • I mimicked the exact head position she was doing when she got nervous • Showed her how to reposition her head • Pulled out her mood board and reminded her what she was asking for That visual connection helped. The funny part? I’ve known this girl since she was three years old, and she has never been embarrassed around me… until I pick up a camera 🤦🏻♀️ And remember how I typically say I don’t “spray and pray”? Well… there are exceptions. Some people get so nervous that you do need to take a few extra frames just to let them settle into the moment. That’s how you capture the magic after the nerves calm down. The last image I shared is the nervous shot—and it’s a perfect reminder that patience and guidance matter just as much as technical skill. 💡 Takeaway: Your job isn’t just to shoot—it’s to coach, reassure, and translate a vision into something your client can actually do.
0
0
Jan 16 •
Understanding camera settings.
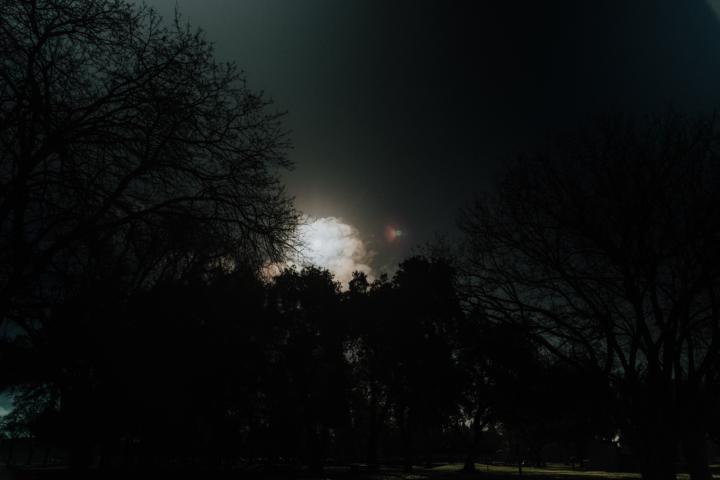
Did you know that understanding your camera settings you can completely change the look of your photo? Here’s an example of a photo taking in broad daylight. I noticed the sun was behind a cloud and wanted to capture that. Because of the change in settings, it actually looks like a night photo, but it was definitely bright with sunglasses needed! In this particular case I did have an ND filter on my lens to help stop that light down.
1
0
1-13 of 13
powered by

skool.com/level-up-visual-imagery-8955
A vibrant community for photographers and videographers to learn, grow, share, and master their craft - TOGETHER!
Suggested communities
Powered by