Activity
Mon
Wed
Fri
Sun
Jan
Feb
Mar
Apr
May
Jun
Jul
Aug
Sep
Oct
Nov
Dec
What is this?
Less
More
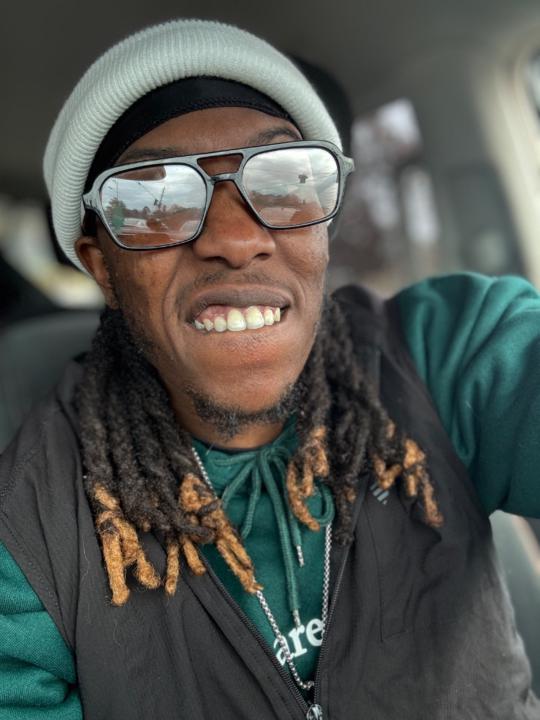
Owned by Nelly Nellz
Barber specializing in cutting kids with Superpowers(Autism), Mentor and Voice for the youth. Teach Basic writing and communication skills.
Memberships
church
102 members • Free
Wholeheartedly Home
12 members • Free
Family Support & Wellbeing Hub
3 members • Free
If No One’s Told You Today
5 members • Free
Skoolers
179.1k members • Free
1 contribution to ArtFx Videography Community

Jul 10 •
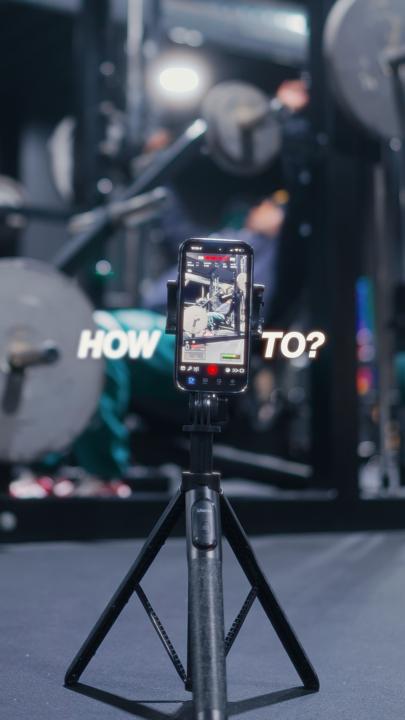
No GateKeeping Series Day 1
Hey Family, I've been working on a long awaited series that I firmly believe will help you out so much in your videography/ content creation journey. So today, this is Day 1 of my " No Gatekeeping Series " where I break down all the tricks, tools, and hidden gems I use to level up my content so you can do the same. Today, I'm breaking one of the biggest pain points most people face when filming with their iPhones. So f you’ve been filming on your iPhone and wondering, “Why doesn’t my footage look like those dreamy cinematic edits I see online?” — this is for you. I've also added my iPhone cinematic LUT which I usually charge for but we not gatekeeping no more so I'll be giving it out for free. So... What you’re missing isn’t gear — it’s settings and sauce. Let’s lock in your camera settings. 📱 iPhone Native Settings: - Go to your Settings app - Scroll down to Camera - Tap Record Video → set it to 4K at 30fps (this is the sweet spot for most content) - Next, go to Formats → choose Most Compatible 🎥 Using the Blackmagic Camera App (aka the app I use 99% of the time because it gives me full control): - Open the app → tap Settings - Set Resolution to 4K (NOT UHD — trust me, it makes a difference) - If your iPhone supports Log format, use that for maximum dynamic range. - If you shoot for social (Reels, TikToks, Shorts), turn ON Vertical Video Mode - Last thing — enable Mirror Front Camera Now here’s the before vs after using these exact settings — and yeah, that glow-up is real. But here’s the part most people won’t tell you: Settings alone aren’t enough. You still need that color sauce to make it pop — and that’s where my iPhone LUT comes in. I designed this LUT to turn flat-looking iPhone footage into cinematic, rich, scroll-stopping visuals — even if you’re filming in your bedroom with no fancy gear. It’s not just a preset. It’s a cheat code. And because I want to see more of us winning — Comment “settings” and I’ll send you the step-by-step guide plus my LUT, completely free.

0 likes • Nov 19
Settings
1-1 of 1
@nelly-scott-7661
Nellz "The Patient Barber" here to mentor and guide the youth back to the basics of creative writing and effective communication with the parentals.
Active 3h ago
Joined Jul 14, 2024
Atlanta
Powered by