
Write something

Jul '24 •
3 ArtFx Layer Template
Hey guys, this is the viral instagram stacked video effect and this is how you can do it . All you need to do is just drag and drop my free template In Your favorite editing software and scale it to 200. And Now all you gotta do is drag your videos under it and adjust the positions of your clips to your liking. https://unlockingrowth.notion.site/3-ArtFx-Layer-Template-7c04f7b396724ee5984920161c428cbd?pvs=4
Jul '25 •
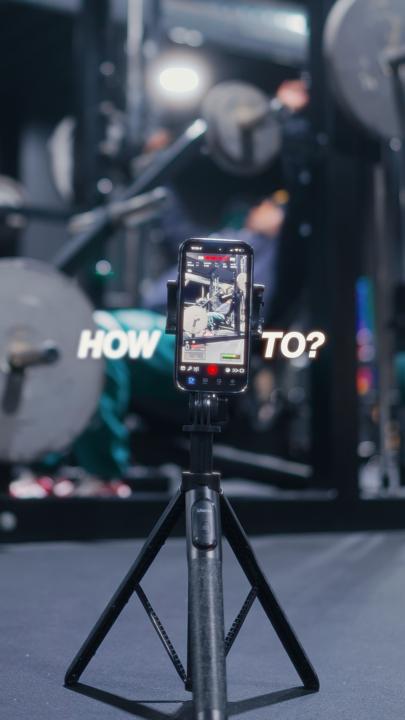
No GateKeeping Series Day 1
Hey Family, I've been working on a long awaited series that I firmly believe will help you out so much in your videography/ content creation journey. So today, this is Day 1 of my " No Gatekeeping Series " where I break down all the tricks, tools, and hidden gems I use to level up my content so you can do the same. Today, I'm breaking one of the biggest pain points most people face when filming with their iPhones. So f you’ve been filming on your iPhone and wondering, “Why doesn’t my footage look like those dreamy cinematic edits I see online?” — this is for you. I've also added my iPhone cinematic LUT which I usually charge for but we not gatekeeping no more so I'll be giving it out for free. So... What you’re missing isn’t gear — it’s settings and sauce. Let’s lock in your camera settings. 📱 iPhone Native Settings: - Go to your Settings app - Scroll down to Camera - Tap Record Video → set it to 4K at 30fps (this is the sweet spot for most content) - Next, go to Formats → choose Most Compatible 🎥 Using the Blackmagic Camera App (aka the app I use 99% of the time because it gives me full control): - Open the app → tap Settings - Set Resolution to 4K (NOT UHD — trust me, it makes a difference) - If your iPhone supports Log format, use that for maximum dynamic range. - If you shoot for social (Reels, TikToks, Shorts), turn ON Vertical Video Mode - Last thing — enable Mirror Front Camera Now here’s the before vs after using these exact settings — and yeah, that glow-up is real. But here’s the part most people won’t tell you: Settings alone aren’t enough. You still need that color sauce to make it pop — and that’s where my iPhone LUT comes in. I designed this LUT to turn flat-looking iPhone footage into cinematic, rich, scroll-stopping visuals — even if you’re filming in your bedroom with no fancy gear. It’s not just a preset. It’s a cheat code. And because I want to see more of us winning — Comment “settings” and I’ll send you the step-by-step guide plus my LUT, completely free.
Jun '24 •
Gamma Compensation Lut
Wanted to give you guys this lut to help you guys out. Let me know what you think? https://unlockingrowth.notion.site/Gamma-Compensation-LUT-8e570f394b604a83a623dab1ef63da8c?pvs=4
Nov '24 •
Top 5 Must haves for videographers and content creators
5 Must-Haves for Content Creators and Videographers 1. High-Quality Camera • For Beginners: Sony ZV-E10 • 4K Video Recording: Captures crisp 4K footage at up to 30fps, providing sharp and detailed visuals for your content. • Compact and Lightweight: Weighing just about 343 grams, it’s perfect for on-the-go shooting and vlogging. • Articulating Touchscreen: The flip-out LCD screen makes it easy to frame shots from various angles, including selfies. • Interchangeable Lenses: Compatible with Sony’s E-mount lenses, offering flexibility to choose the perfect lens for any scenario. • For Professionals: Sony FX3 • 4K at 120fps: Allows for ultra-smooth slow-motion footage, adding a cinematic touch to your projects. • Full-Frame Sensor: Provides exceptional image quality with shallow depth of field and excellent low-light performance. • Robust Build: Designed for professional use with a durable, compact body that’s easy to handle during long shoots. • Advanced Autofocus: Features real-time Eye AF and Tracking AF for precise focus on subjects. • Also Consider: iPhone 15 Pro Max • ProRes Video Recording: Offers professional-grade video capture up to 4K, ideal for high-quality mobile content creation. • Always Accessible: Perfect for spontaneous shooting without the need to carry extra equipment. • Advanced Stabilization: Built-in sensor-shift optical image stabilization ensures smooth footage. • Versatile Camera System: Equipped with multiple lenses (wide, ultra-wide, telephoto) for creative flexibility. 2. Versatile Lenses • For Full-Frame Cameras • Sigma 24-70mm f/2.8 • All-Purpose Zoom: Ranges from wide-angle to short telephoto, suitable for various shooting situations. • Constant f/2.8 Aperture: Maintains consistent exposure and depth of field across the zoom range. • High Optical Quality: Delivers sharp images with minimal distortion and chromatic aberration. • Durable Construction: Weather-sealed design protects against dust and moisture. • Sigma 35mm f/1.4 • Ideal Focal Length: Offers a natural perspective that’s neither too wide nor too tight.

Jul '24 •
Guide for Sony & Canon Cameras
Here's the full guide for settings on your Sony and Canon Camera. Just comment below any questions, i'll try my best to answer. And if anyone else knows the answer feel free to help each other out! https://foam-gallium-e06.notion.site/The-Beginner-s-Guide-to-Configuring-Color-Space-and-Customizing-S-Log3-on-Sony-and-Canon-Cameras-18008be6713780fcb2b6da2c9a895692?source=copy_link
1-10 of 10

skool.com/artfx
This Community is for everyone wanting to learn Videography and Cinematography/Filmmaking
Powered by