
Write something


Feb 11 •
Butt hitch
In rigging, a butt hitch is a simple yet essential technique used to tie off the "butt" (the fat, bottom end) of a log or branch. While a top-tie keeps the piece upright, the butt hitch is used to control the swing or to keep the piece from kicking out and smashing into the trunk (or the climber!) as it's lowered. 🛠️ Why Use a Butt Hitch? - Total Control: It keeps the piece parallel to the trunk while it’s being lowered. No wild swinging. - Balanced Loads: On long, heavy limbs, you often use a "top-and-butt" rig. The top line takes the weight, and the butt hitch (connected to a tag line) guides the piece to the ground. - Safety: It prevents the log from "pivoting" unexpectedly. If you only tie the top, the bottom can kick back toward you like a lethal see-saw.
Feb 11 •
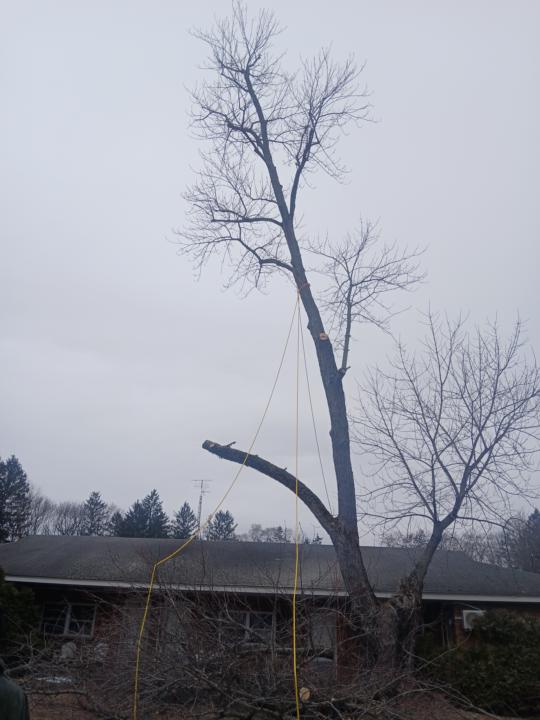
Rigging to itself
In the tree world, we call this "same-limb rigging," and it’s one of those moves that can be a total lifesaver or a total disaster depending on how you set it up. The main thing to remember is physics. When you cut a piece of the limb you’re standing on and it "drops" into the rigging, that energy travels straight through the wood and into your feet (and your tie-in point). ⚠️ The Golden Rules of Same-Limb Rigging: The "Weight Limit": Never rig a piece that is heavy enough to compromise the limb’s structural integrity. If that limb snaps, you’re going down with it. Small Bites: Take smaller sections than you normally would. You want to minimize the shock load. Rigging Point vs. Your Position: Always try to have your rigging point (where the rope goes through a block or crotch) closer to the trunk than where you are standing. If the limb fails at the rigging point, you want to be on the "safe" side of the break. 🪢 Setup Essentials To do this safely, you need gear that absorbs energy. You don't want a "static" setup that jerks the limb hard. A Whoopie Sling is perfect here because you can get your rigging block tight to the limb, reducing the distance the wood falls before the rope catches it. The Notch 3/4" x 3'-5' Whoopie Sling is a solid choice for this because it’s easy to adjust with one hand while you’re out on a limb. You also want a rigging line with a bit of "give." The Samson 1/2" x 150' Pro-Master is a 3-strand rope that offers more stretch than high-tech double braids, which helps cushion the blow to the limb you're standing on. 💡 Pro-Tip for the Crew: If you’re rigging to the same limb, communication is everything. Your ground person (or mini skid operator) needs to be ready to "run" the rope. A hard catch by the groundie can snap the limb you’re on. They should let the piece run a bit to dissipate that energy.
0
0
1-30 of 45
powered by

skool.com/tree-jobs-1775
💰 Network, find reliable work, and share advanced climbing and rigging techniques. No noise just the connections you need to level up.
Suggested communities
Powered by