
Apr 28 • Toolkit Progress
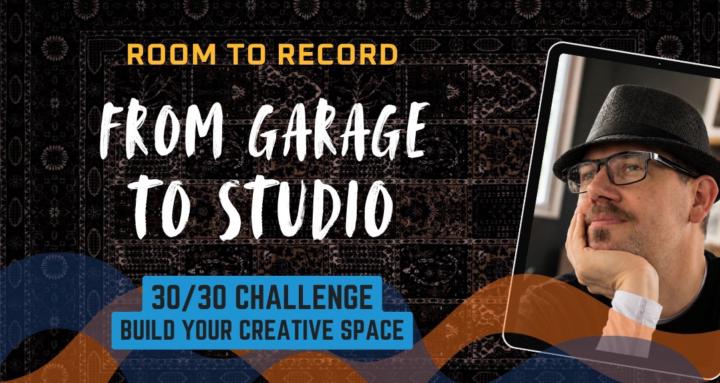
How I Built My Home Studio from Scratch
Part 6: When the Studio Starts Working (And You Start Changing It Again)
At some point, the room stops feeling like a project and starts feeling like something you can actually use. This was that point.
It wasn’t finished. There were still things to fix, move, and clean up. But the important shift had happened:
· I could walk into the room, sit down, and start.
· The desk was set up.
· The speakers were in place.
· The instruments were within reach.
Nothing needed to be unpacked or assembled before doing anything. And that changed everything. But something else happened at the same time.
As soon as the room became usable, I immediately started finding things to improve.
That’s when I began putting up acoustic panels and doing some painting. Part of that was practical. The panels helped shape the sound of the room, and the paint started to give it a more defined identity.
But part of it was something else. It was a form of what I think of as “relevant procrastination.” Instead of sitting down and recording, it’s very easy to drift into:
• adjusting the room• improving the setup• making things look and feel better
All of which are useful… but not the main job. So this stage becomes a balance. On one side:
• making the room better
• improving sound and feel
On the other:
• actually using the space to create
Because a studio doesn’t need to be perfect to be useful. It just needs to be ready enough that you can walk in and start. From here, the focus shifts from building the room to managing that balance.
I was focused on putting up these sound panels, mainly to stop sound bouncing between the hard surfaces around the room.
IMAGE 1: First panel going up. At this point I was mostly testing placement and getting a feel for how the room would respond, not aiming for a perfect setup.
IMAGE 2: Half working, half in progress. The room was usable at this point, but I kept finding reasons to keep improving it instead of just sitting down and recording.
IMAGE 3: Starting to take shape. The panels made a noticeable difference, but this is also where I started slipping into “just one more improvement” mode.
IMAGE 4: A bit more balanced, a bit more controlled. Better sound, better feel… but still not finished.
At the same time, I was filling and painting over the holes left behind by all those AFL framed pictures. Someone suggested using velcro strips for the panels — which eventually worked, but only with additional glue. Before that, they just fell down.
In the gap between trying to get them to stay up, I painted over some of the filled holes with “Hot Pop Blue” paint from a tester pot - instead of dark grey. Then I joined them together. And before I knew what I was doing, I’d added some “Hot Pop Yellow” as well.
IMAGE 5: This escalated quickly. What started as improving the sound turned into changing the look of the entire room.
IMAGE 6: No real plan here. Just testing colour, shape, and how far I could push it before it got out of hand. I think I had a mixture of rivers and the London Underground in my head though.
IMAGE 7: The room started to feel different. Not finished, but definitely not just a spare room anymore.
IMAGE 8: Panels for sound. Colour for feel. Somewhere in the middle is where the room actually starts to work.
Oh, and people started saying "What the......?"
2
1 comment
How I Built My Home Studio from Scratch
skool.com/room-to-record
Build your creative space in 30 days. Then use it to finish your next song, video, podcast or project.
Leaderboard (30-day)
1

+3
2

+2
3

+1
4

+1
5
+1
Powered by