
Write something
May 17 •
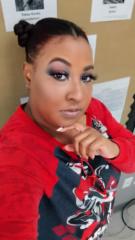
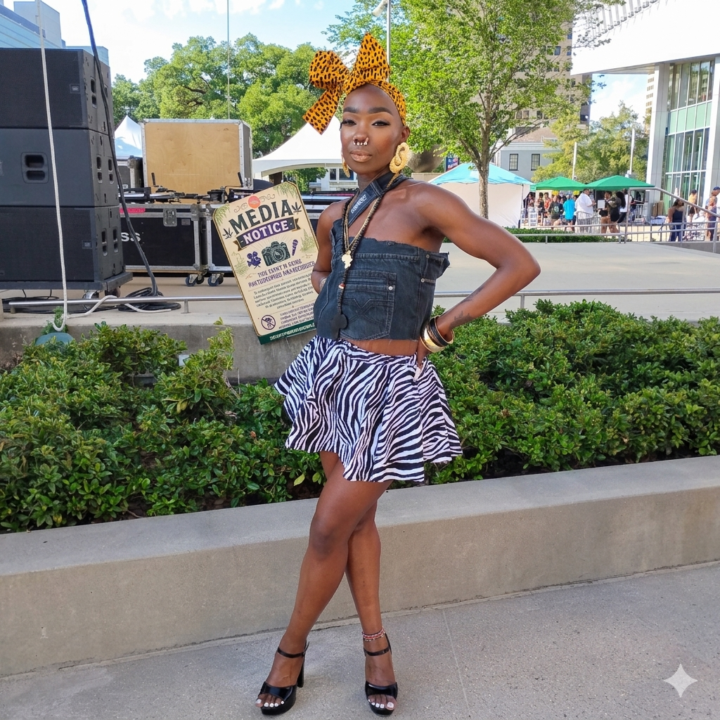
Louisiana Cann Festival
This year was a success in the fashion department! Here are a few of the looks. I'll share more as pictures come in.
May 9 •
Day 3: The Assembly Masterclass (Pro Tips) 🧵
The Lesson: The "Designer Touch" The difference between a "homemade" project and a "designer" piece is in the construction. Today, we focus on the detailed assembly and those "Pro Tips" that add structure and longevity. Whether it’s how you handle a corner, how you reinforce a strap, or how you hide a seam—the secret is in the finish. The Strategy: Don't just sew; engineer. Think about the "Bust-Torc" or architectural elements—these require specific steps that aren't found in a basic manual. Today is about sharing those "aha!" moments in your studio. The Action Task: Post a 60-Second "WIP" Clip Video is the king of engagement! Post a short video (or a series of 3 photos) showing: The "Under the Hood" View: Show us a specific assembly step you are working on right now. The "Pro Tip": Tell us one thing you do during assembly to make the final product look "high-end" (e.g., "I always top-stitch with a specific weight of thread for that luxury look"). Caption your post with: "In the studio: Engineering the [Name of Design]. Here is my #DesignerProTip for today!" Engagement Hook (The "Critique Corner"): Design is about making choices. Post a question to the group about a detail you’re stuck on: "Gold or Silver hardware for this piece?" "Should I go with a hidden zipper or a bold button-down look?" Your Job: Reply to at least one other person’s question with your honest design opinion!
1
0
May 6 •
Day 2: The Precision Cut & Draft ✂️
The Lesson: The "Math" of Luxury A luxury garment isn't just about the fabric; it’s about the accuracy of the draft. Today, we focus on the technical side—ensuring your Cut List is tight and your Pattern Drafting is intentional. Whether you are working on a garment or an accessory, professional documentation is what allows a design to be sold commercially with confidence. The Strategy: Think like an architect. Before you sew a single stitch, you must know every piece of the puzzle. A clear Cut List and Supply List prevent waste and ensure that every person who uses your pattern gets the same high-end result. The Action Task: Post Your "Technical Blueprint" I want to see the "behind-the-scenes" of your current project. Post one of the following: • The "Flat": A technical sketch or drawing of your design (showing seams and construction lines). •The "Cut Prep": A photo of your pattern pieces laid out on your fabric (show us that precision!). • The "Supply List": A list of the specific yardage and hardware you’ve calculated for this piece. Caption your post with: "Drafting the [Name of your design]. Accuracy is the foundation of luxury." The "Studio Secret": Look through the feed and find a designer whose project looks interesting. Ask them: "What was the most challenging part of drafting this specific silhouette?" Leah’s Pro Tip: "I spent years perfecting my digital pattern packages. The secret is in the details—don't rush the draft. A perfect pattern makes the assembly effortless."
2
0
May 4 •
Day 1: The Signature Blueprint 📐
The Lesson: Studio-to-Street Identity Most designers make clothes; brand owners create a signature aesthetic. Today, we are defining your "Handmade Couture" identity. We aren't just looking for "pretty"—we are looking for architectural silhouettes, high-end tailoring, and luxury finishes that make a garment look like it walked off a runway and onto the street. The Strategy: To stand out, your work needs a "DNA" (e.g., Are you all about oversized structural ruffles? Are you focused on sleek, faux-leather luxury? Is your finish always metallic?). The Action Task: Post Your "Mood Board of Three" I want you to create and post a single graphic (use Canva or just a photo collage) that contains: One Texture/Fabric: (e.g., silk, heavy denim, vegan leather). One Silhouette: (e.g., structured shoulders, flared hem, cinched waist). One Accessory/Finish: (e.g., gold hardware, intricate embroidery, specific top-stitching). Caption your post with: "My Brand DNA is [Insert your style, e.g., Architectural Glamour]." Engagement Hook (The "Power Move"): Go to at least two other designers' mood boards and comment with one word that describes their vibe (e.g., "Sharp," "Ethereal," "Bold"). Pro Tip: The designers who engage the most today are the ones I’ll be watching closely for that Top Designer spotlight!
1
0
May 4 •
Fashion Show Preparations
This week I will be sharing my designs and preparation tactics for an upcoming festival that hosts a fashion show as well.
1
0
1-30 of 43
powered by
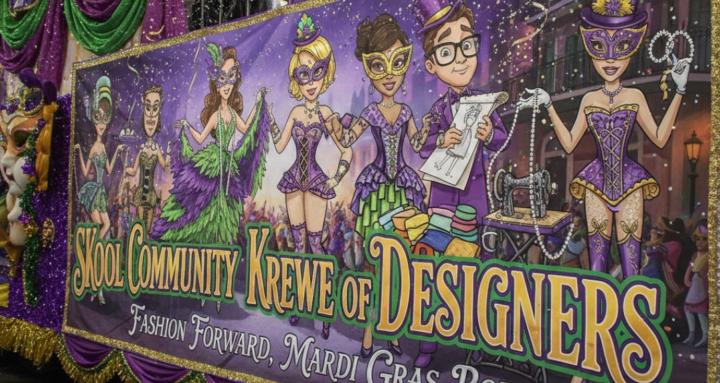
skool.com/krewe-of-designers-5161
Louisiana based sewing community for aspiring and growing Indie Fashion Designers. I offer everything from basic dress making to embroidery.
Suggested communities
Powered by