Write something

🍀
Jun '24 •
How to find beats to write to without a producer
Key Steps 1. Write down 5 artists you sound similar to or are inspired by. 2. Look up beats online, preferably ones with fewer views to avoid overuse. 3. Listen to the beats and voice record any melodies you come up with. 4. Copy the link of the chosen beat and download it. 5. Import the beat into your music software (e.g., Logic) and record your vocals over the beat. 6. Create your audio file by recording vocals using the appropriate equipment. 7. Write the song before purchasing the beat to ensure compatibility. 8. Locate the beat for purchase by checking the description or the producer's social media. 9. Consider contacting the producer directly through Instagram to potentially get a cheaper deal. Cautionary Notes - Ensure you have the necessary equipment and software set up before recording. - Respect copyright laws when using downloaded beats for your songs. - Double-check the compatibility of your vocals with the beat before finalizing the purchase. Tips for Efficiency - Keep a record of the beats you like and organize them for easy access. - Utilize voice recording on your phone to capture melodies and song ideas on the go. - Communicate clearly with producers when purchasing beats to negotiate better deals. By following these steps, you can effectively find, record, and purchase beats for your music production projects.
🍀
Jun '24 •
FIRST EP FOR MIXING COURSE - Mixing Vocals Tutorial EP 1
Now we're getting to the good stuff! Almost a DECADE of DIY Mixing and thousands of dollars spent on courses packed into one course. Our first part starting with VOCALS. I couldn’t tell you how a single plugin works from the inside out but I know what sounds good and that’s all that matters. Here’s some take aways from the first episode: Key Steps 1. Noise Reduction Use a noise gate to cut out unnecessary background noise and breaths. Refine by cutting out any unwanted sounds or breaths. 2. Compression Apply a compressor to even out the volume and bring out all elements of the vocals. Adjust peak reduction to prevent volume spikes. 3. Auto-Tune Use auto-tune to correct pitch and ensure all notes are hit correctly. Adjust retune speed to maintain a natural sound. 4. Fresh Air Plugin Add a high-end boost to enhance the vocals. Use sparingly to avoid overdoing it. 5. EQ Use a stock EQ plugin to adjust highs and lows of the vocals. Sweep through frequencies to identify and eliminate unwanted frequencies. 6. Rvox Plugin Apply Rvox as an additional compressor to cut through the mix. Adjust settings to blend vocals seamlessly with the beat. 7. De-Esser Use a de-esser to control sibilant sounds like 'S' in vocals. Adjust settings to reduce harsh sounds. 8. Soothe Plugin Apply Soothe plugin to remove bad frequencies and blend vocals with the beat. Adjust settings to complement the instrumental. 9. Reverb Add reverb using Valhalla Room plugin for depth and space. Calculate BPM for optimal reverb settings. 10. Doubler Use a doubler plugin to add thickness and depth to vocals. Adjust settings to enhance the vocal texture. 11. Vocal Rider Apply Vocal Rider to automate volume levels and maintain consistency. Set parameters to keep vocals in balance throughout the track. Cautionary Notes - Avoid over-processing vocals, as it can lead to an unnatural sound. - Regularly listen to the mix and make adjustments as needed to avoid over-editing. - Ensure all plugins are used in moderation to maintain a balanced sound.
🍀
Jun '24 •
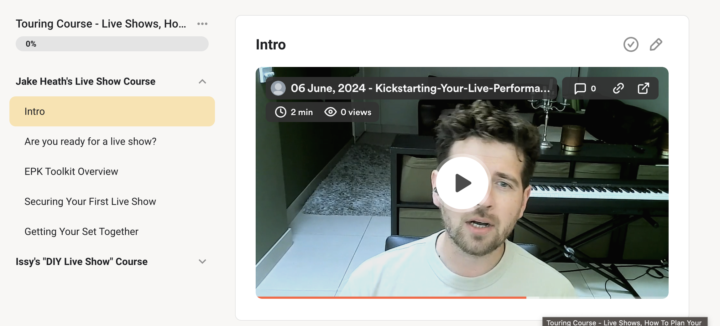
New Course dropped!
Everyone please give a million W's in the chat to our moderator Jake Heath for dropping a 5 part course all about live shows today! Please give him all your love and appreciation. SO much value in there! You can find it in the classroom tab. 🫶🏾 *psttt! if you look carefully you'll see my own "DIY show" course will be dropping this week to so lock in🤝🏾 have a great day guys!
🍀
Jun '24 •
Music Marketing - Branding Lecture With Issy (Replay)
Thank you to everyone who joined! Really really amazing talk we had today! If you couldn't catch us, you've got the whole replay here in its entirety to catch up on before the next once in a week! Key Moments in the Replay 1. Understand Your Brand: Take time to reflect on your identity as an artist and what sets you apart from others in the industry. 2. Create Authentic Content: Focus on creating content that reflects your true self and resonates with your audience. 3. Short Form Music Videos: Invest in short form music videos to engage your audience without breaking the bank. 4. Engagement Campaigns: Prioritize engagement campaigns over conversion campaigns to build a loyal fan base. 5. DIY Approach: Learn to mix your own songs to save costs and have more control over your music production. 6. Pitching Campaigns: Evaluate the cost-effectiveness of pitching campaigns and consider DIY approaches before investing. 7. Community Engagement: Engage with the community to share insights, ask questions, and collaborate with other artists. 8. Value-Driven Posts: Share valuable insights, experiences, and advice in the community to foster meaningful interactions. 9. Budgeting - how to run effective campaigns while not wasting money on the wrong areas. Cautionary Notes - Avoid spamming the community with self-promotional content. - Be cautious of investing in expensive marketing campaigns without a clear return on investment. Tips for Efficiency - Prioritize engagement and authenticity in your music marketing efforts. - Utilize short form music videos and DIY approaches to save costs and build a strong brand identity. - Engage with the community to share insights, learn from others, and grow your network. -

🍀
Jun '24 •
How to Create Sped Up and Slowed Versions of Songs 🎵
Key Steps 1. Open the song you want to work on in Logic Pro. 2. Click on the "Flex Pitch" button. 3. Scroll down to the "Speed" option. 4. Adjust the tempo to speed up or slow down the song. 5. Listen to the song in its normal tempo before making adjustments. 6. Fine-tune the tempo until you are satisfied with the speed. 7. After mastering the song, export it as a WAV file. 8. Consider adding reverb to the song for enhancement. Cautionary Notes - Always adjust the tempo after mastering the song to avoid the need for additional mastering. - Be cautious when adding reverb, as it can affect the mix of the song. Tips for Efficiency - Use the formula: 60,000 divided by BPM to calculate reverb settings. - Export the final version of the song as a WAV file for streaming services. By following these steps, you can easily create sped up and slowed versions of songs using Logic Pro.
1-11 of 11