Write something

Sep '25 •
Question
Hello how do you get Brand Deals & Sponsorships and how do you Do Affiliate Marketing?

Sep '25 •
How movies avoid cheap editing skills
🎯 1. The Wide Shot (WS) Purpose: This is your “establishing” shot — it shows where you are and lets your viewer settle into the environment. Use it at the start or end of a scene to anchor the viewer. ✅ Pro Tip: Shoot from a distance and include background elements that matter. 🎯 2. The Mid Shot (MS) Purpose: This is usually framed from the waist up. It’s the most natural comfortable ✅ Pro Tip: Use this for most of your talking points or tutorials. 🎯 3. The Close-Up (CU) Purpose: Frame your face or subject tight to draw attention. It adds intensity connection ✅ Pro Tip: Use sparingly to highlight key moments or reactions. 🎯 4. Over-the-Shoulder (OTS) Purpose: Useful for showing what you’re looking at, reacting to, or working on. Great for showing screens, products, or creative processes. ✅ Pro Tip: Makes the viewer feel like they’re right there with you. 🎯 5. Cut-In / Insert Shot Purpose: Zoom in or cut away to hands, notes, a phone screen, or any prop. These shots break up the flow and keep attention high. ✅ Pro Tip: Shoot a few of these to give options during editing (or skip editing and just place them in between scenes). 🎯 6. Movement Shot (Pan or Walk-In) Purpose: Instead of transitions, just use simple camera movement. Walk into the frame, pan left to right, or change your angle slightly between takes. ✅ Pro Tip: Keeps things feeling dynamic, without needing flashy edits.

Sep '25 •
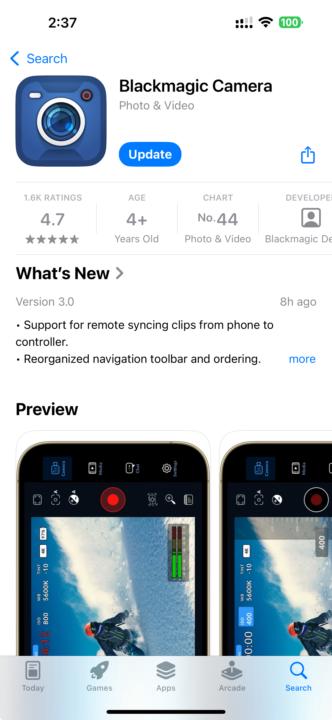
How I turn my iphone into a professional camera
Download the black-magic camera app Use these settings shown on screen It is that simple
1
0
Sep '25 •
Here is my shot-list to make my videos cinematic
🎯 1. The Wide Shot (WS) Purpose: Set the scene and give context. This is your “establishing” shot — it shows where you are and lets your viewer settle into the environment. Use it at the start or end of a scene to anchor the viewer. ✅ Pro Tip: Shoot from a distance and include background elements that matter. 🎯 2. The Mid Shot (MS) Purpose: Show action and body language. This is usually framed from the waist up. It’s the most natural and comfortable shot for talking, teaching, or doing anything on camera. ✅ Pro Tip: Use this for most of your talking points or tutorials. 🎯 3. The Close-Up (CU) Purpose: Capture emotion and detail. Frame your face or subject tight to draw attention. It adds intensity and connection, especially when you want your audience to feel something. ✅ Pro Tip: Use sparingly to highlight key moments or reactions. 🎯 4. Over-the-Shoulder (OTS) Purpose: POV-style or narrative storytelling. Useful for showing what you’re looking at, reacting to, or working on. Great for showing screens, products, or creative processes. ✅ Pro Tip: Makes the viewer feel like they’re right there with you. 🎯 5. Cut-In / Insert Shot Purpose: Show something you’re holding, doing, or referencing. Zoom in or cut away to hands, notes, a phone screen, or any prop. These shots break up the flow and keep attention high. ✅ Pro Tip: Shoot a few of these to give options during editing (or skip editing and just place them in between scenes). 🎯 6. Movement Shot (Pan or Walk-In) Purpose: Add natural energy without effects. Instead of transitions, just use simple camera movement. Walk into the frame, pan left to right, or change your angle slightly between takes. ✅ Pro Tip: Keeps things feeling dynamic, without needing flashy edits.
0
0
1-8 of 8